Cette page n'est pas encore disponible en français, sa traduction est en cours. Si vous avez des questions ou des retours sur notre projet de traduction actuel, n'hésitez pas à nous contacter.
Disponible pour:
Browser Tests
Overview
Synthetic Browser Tests are to used monitor your applications by reproducing how your customers experience your webpages end-to-end. When testing a sign-up or login flow, incorporate a one-time passcode (OTP) sent to an email address for authentication into your test. This OTP token can be extracted from an email body for testing within an application.
This guide walks you through how to configure the OTP extraction for a Synthetic Browser Test.
On a new or existing Browser Test, under Variables click Add Variable.
Next, select Email Address from the dropdown menu.
Name the variable and click Create.
This adds the email variable to the Variables section in the UI:
Step 2 - Inject the email address variable
Next, record steps to insert the email address variable into an input field to imitate how a user would add the email address within your application.
Click Record at the top of the test. This automatically adds steps to the test based on the detected interactions and inputs.
Click the email input field, which creates a Click step.
Find the email variable created earlier, called DD_EMAIL_ADDRESS in this example. On the right, click Inject variable in a text input and click the desired text box, which is highlighted in the UI. The email gets inserted.
After the email containing the OTP is sent, the Browser Test can access the email body for use in the rest of the sign-up flow.
Step 3 - Extract the OTP from the email body
Next, create a test step that extracts the OTP from the email body after it’s sent and stores it in a variable. This example uses the variable name OTP_FROM_EMAIL throughout the rest of this guide.
Under Add a variable select from Email body.
Under Parsing Regex add in the regex pattern that corresponds to the OTP.
The following are example regex patterns to parse the OTP token from the email body:
Type
Example
Regex Rule
4 Digit OTP
1234
/[0-9]{4,4}/
6 Digit OTP
123456
/[0-9]{6,6}/
5 Character
abcde
/[a-z]{5,5}/
Alphanumerical OTP
a1b2cd34
/[a-zA-Z0-9]{8,8}/
The OTP will be stored in the variable for use in your Browser Test.
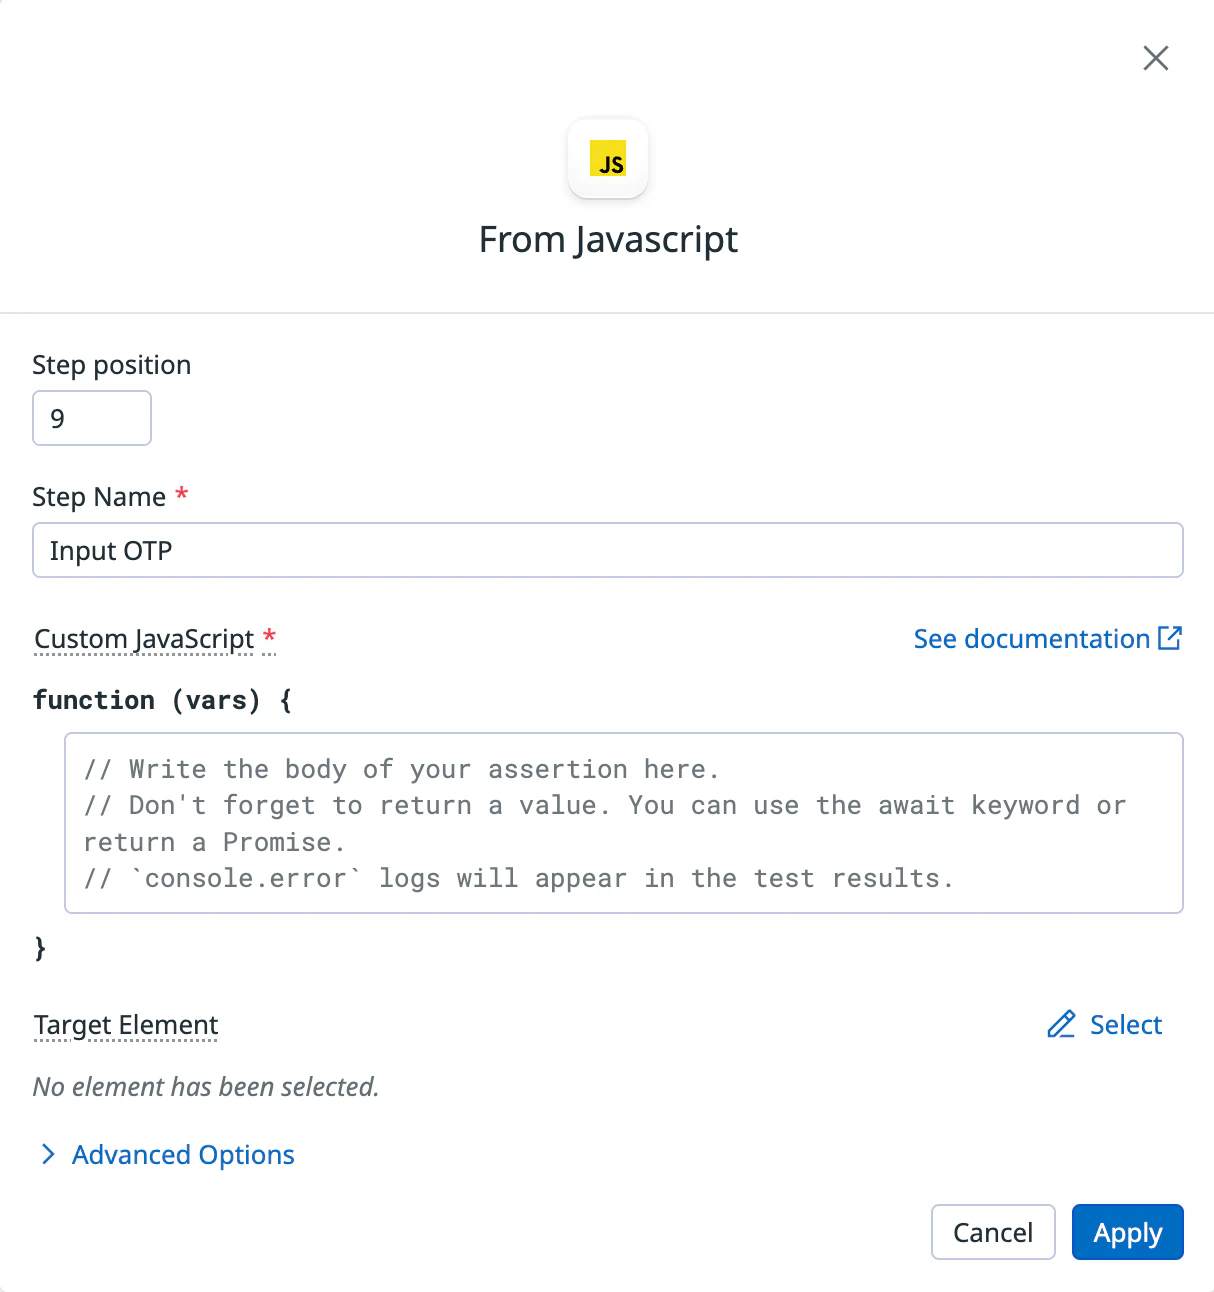
Step 4 - Use a JavaScript assertion to insert the OTP
JavaScript lets you trigger an event on a DOM element programmatically, making it possible to mimic user interactions or other events. Depending on how your input element is built, dispatching an event may be required to enable custom behaviors or testing event listeners tied to the element. You can use a Javascript assertion to add the saved OTP from the email and insert it into your application.
Add a JavaScript assertion step to input the stored OTP variable, in our example OTP_FROM_EMAIL, into the appropriate field in your application.
Under Custom JavaScript add the extraction code. The code format varies depending on whether the OTP is inserted into a simple text field or respective input fields. Below are examples that illustrate both scenarios:
Simple text field
To insert the OTP into a simple text field, use the following:
Below is a visual example of an OTP setup with a simple text field that the above query can be used for:
Example of an OTP with with a simple text field
Note: For both of the Javascript examples, you need to replace the OTP_FROM_EMAIL field with the name of the email variable you defined if named differently in your browser test.
Respective input fields
To insert the OTP into separately defined fields, use the following:
Below is a visual example of an OTP setup with separately defined fields that the above query can be used for:
Example of an OTP with respective input fields
Next steps
Once the OTP is inserted and verified, you can continue adding steps to your Browser Test to verify that the user has completed the sign-up flow of your application such as adding an assertion that specific text is present on the page.
From here, you can continue recording the rest of your Browser Test and then verify your Browser Test results.
Further Reading
Documentation, liens et articles supplémentaires utiles: