- Principales informations
- Getting Started
- Datadog
- Site Datadog
- DevSecOps
- Serverless for AWS Lambda
- Agent
- Intégrations
- Conteneurs
- Dashboards
- Monitors
- Logs
- Tracing
- Profileur
- Tags
- API
- Service Catalog
- Session Replay
- Continuous Testing
- Surveillance Synthetic
- Incident Management
- Database Monitoring
- Cloud Security Management
- Cloud SIEM
- Application Security Management
- Workflow Automation
- CI Visibility
- Test Visibility
- Intelligent Test Runner
- Code Analysis
- Learning Center
- Support
- Glossary
- Standard Attributes
- Guides
- Agent
- Intégrations
- OpenTelemetry
- Développeurs
- Authorization
- DogStatsD
- Checks custom
- Intégrations
- Create an Agent-based Integration
- Create an API Integration
- Create a Log Pipeline
- Integration Assets Reference
- Build a Marketplace Offering
- Create a Tile
- Create an Integration Dashboard
- Create a Recommended Monitor
- Create a Cloud SIEM Detection Rule
- OAuth for Integrations
- Install Agent Integration Developer Tool
- Checks de service
- IDE Plugins
- Communauté
- Guides
- Administrator's Guide
- API
- Application mobile
- CoScreen
- Cloudcraft
- In The App
- Dashboards
- Notebooks
- DDSQL Editor
- Alertes
- Infrastructure
- Métriques
- Watchdog
- Bits AI
- Service Catalog
- API Catalog
- Error Tracking
- Service Management
- Infrastructure
- Universal Service Monitoring
- Conteneurs
- Sans serveur
- Surveillance réseau
- Cloud Cost
- Application Performance
- APM
- Profileur en continu
- Database Monitoring
- Agent Integration Overhead
- Setup Architectures
- Configuration de Postgres
- Configuration de MySQL
- Configuration de SQL Server
- Setting Up Oracle
- Setting Up MongoDB
- Connecting DBM and Traces
- Données collectées
- Exploring Database Hosts
- Explorer les métriques de requête
- Explorer des échantillons de requêtes
- Dépannage
- Guides
- Data Streams Monitoring
- Data Jobs Monitoring
- Digital Experience
- RUM et Session Replay
- Product Analytics
- Surveillance Synthetic
- Continuous Testing
- Software Delivery
- CI Visibility
- CD Visibility
- Test Visibility
- Exécuteur de tests intelligent
- Code Analysis
- Quality Gates
- DORA Metrics
- Securité
- Security Overview
- Cloud SIEM
- Cloud Security Management
- Application Security Management
- AI Observability
- Log Management
- Pipelines d'observabilité
- Log Management
- Administration
Basic Agent Usage for Linux
Cette page n'est pas encore disponible en français, sa traduction est en cours.
Si vous avez des questions ou des retours sur notre projet de traduction actuel, n'hésitez pas à nous contacter.
Si vous avez des questions ou des retours sur notre projet de traduction actuel, n'hésitez pas à nous contacter.
Overview
This page outlines the basic features of the Datadog Agent for Linux environments. See the Supported Platforms documentation for the complete list of supported Linux distributions and versions.
Install the Agent
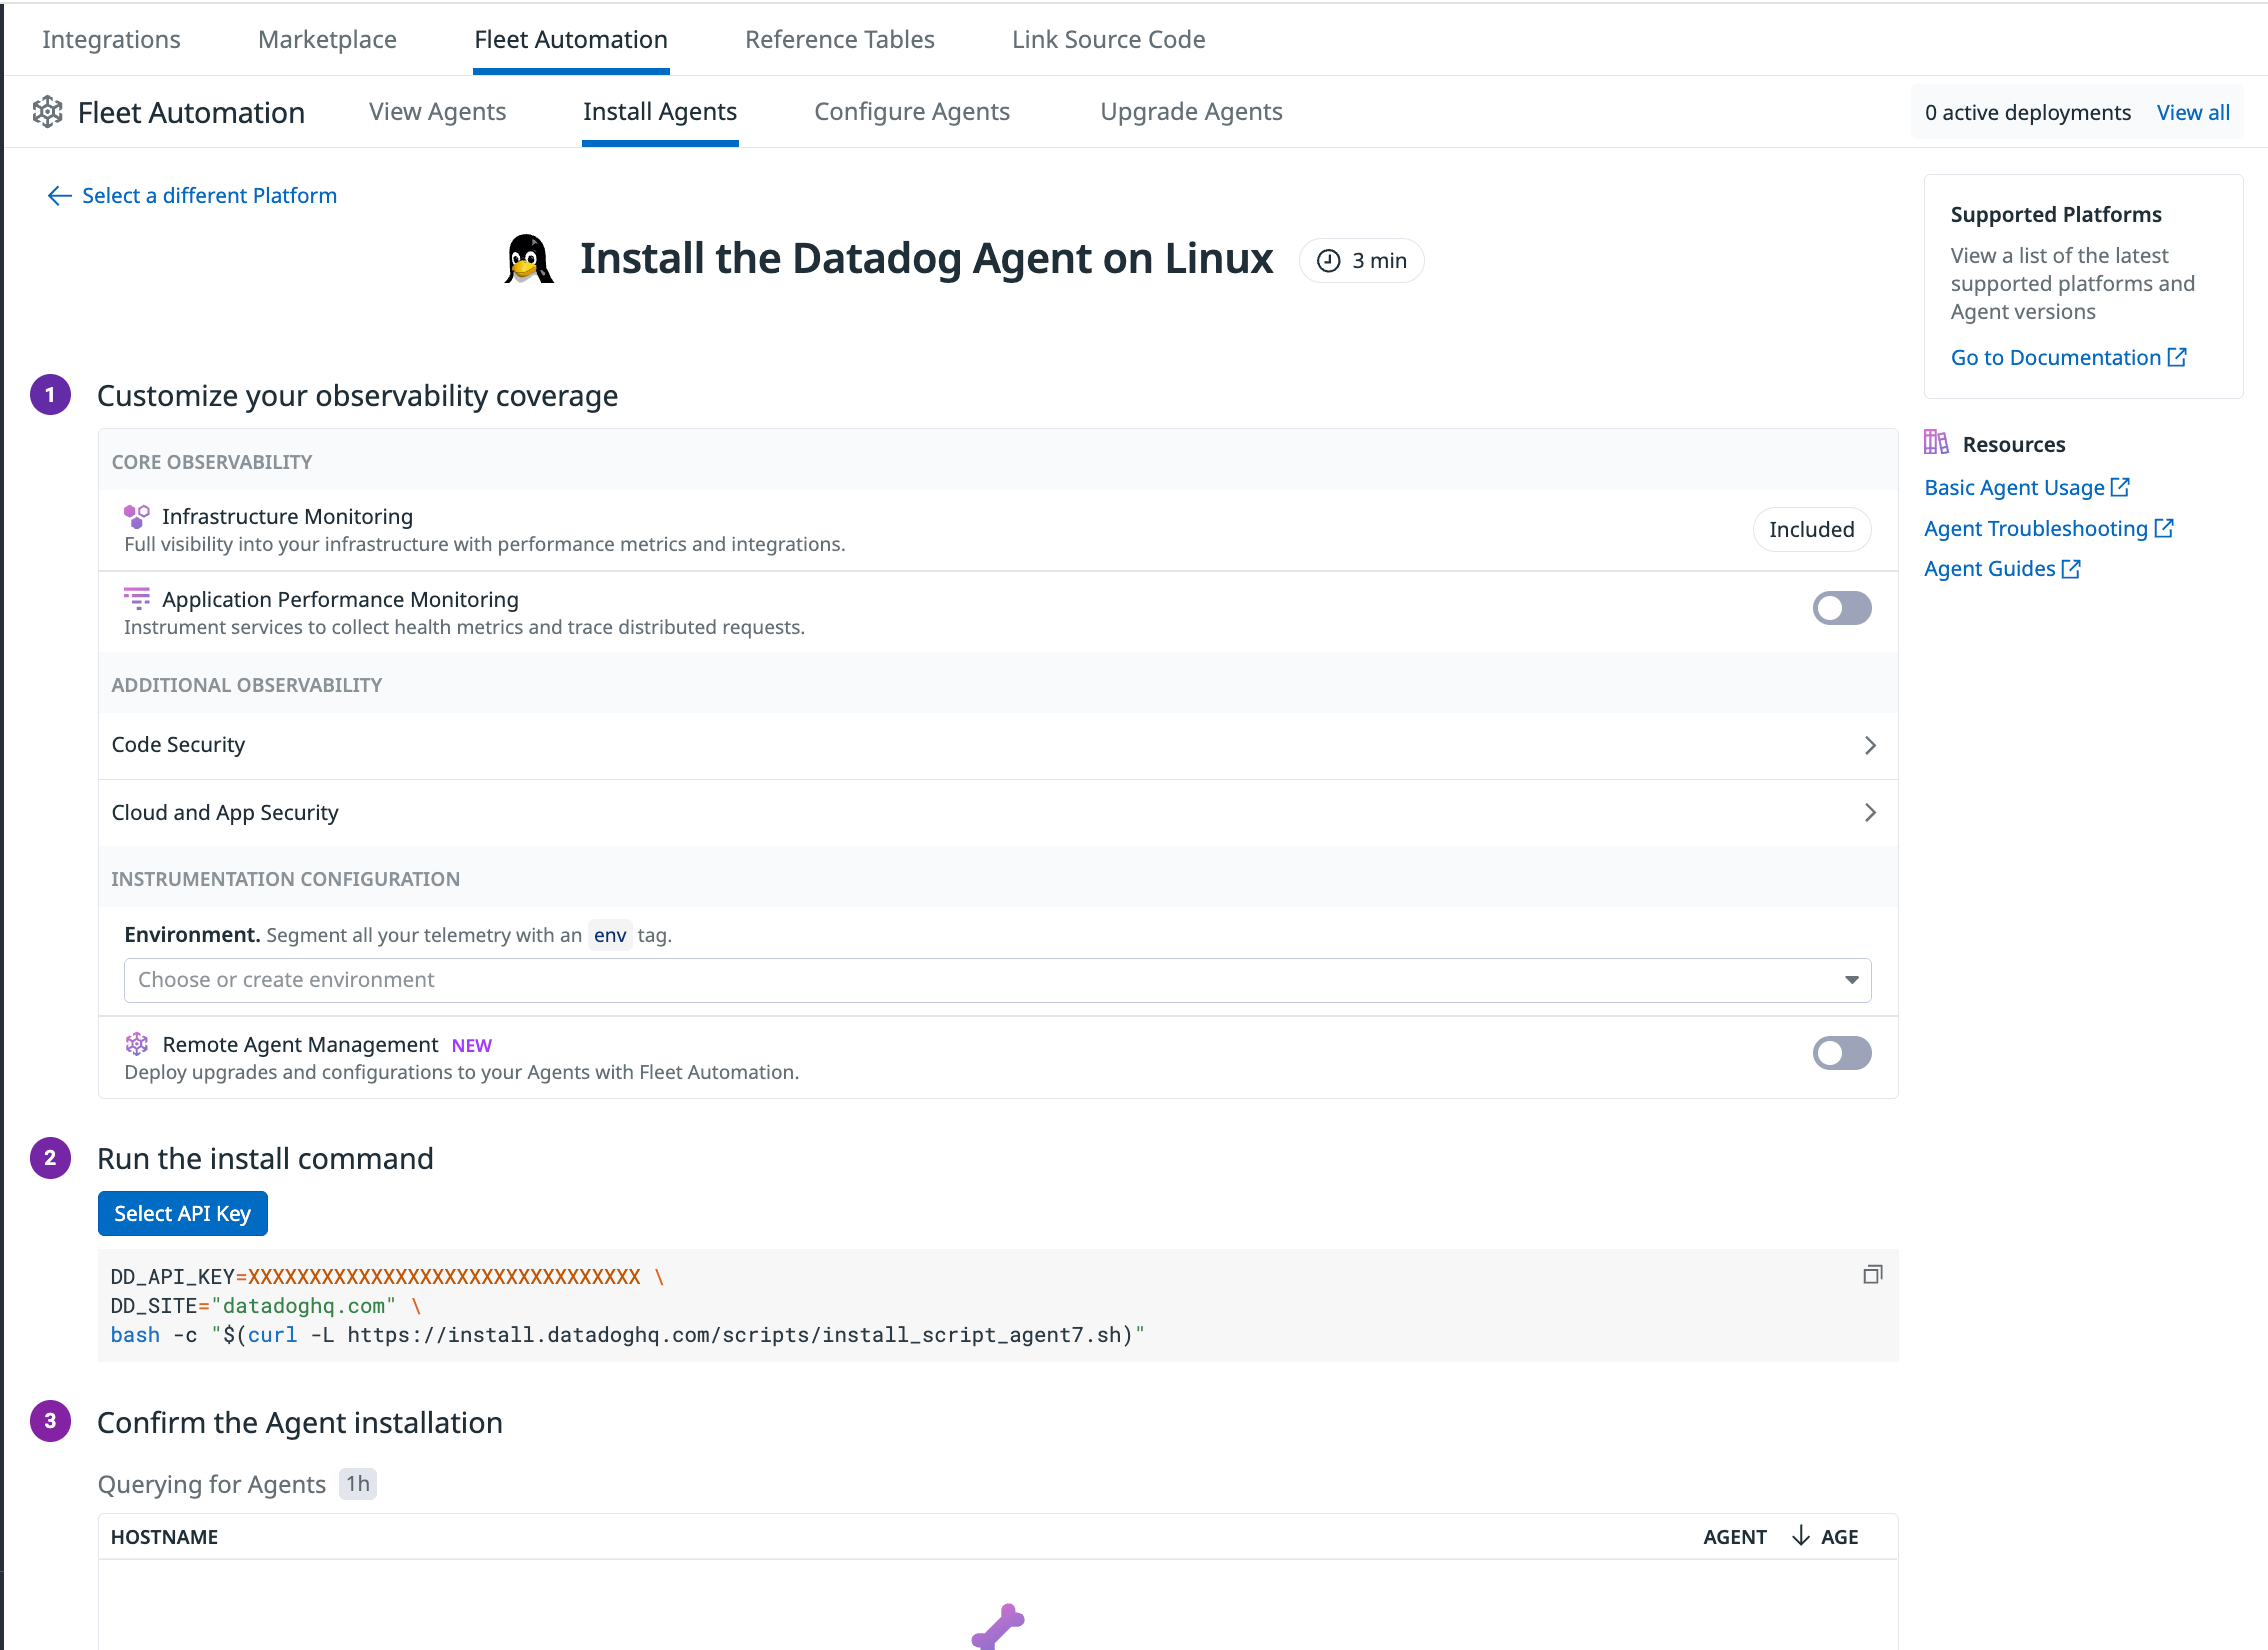
To install the Agent on Linux, follow the in-app instructions in Fleet Automation, and run the generated script on your hosts.
Configure the Agent
The Datadog Agent configuration file is located in /etc/datadog-agent/datadog.yaml. This YAML file holds the host-wide connection details used to send data to Datadog including:
api_key: Your organization’s Datadog API keysite: Target Datadog region (for exampledatadoghq.com,datadoghq.eu,ddog-gov.com)proxy: HTTP/HTTPS proxy endpoints for outbound traffic (see Datadog Agent Proxy Configuration)- Default tags, log level, and Datadog configurations
A fully commented reference file, located in /etc/datadog-agent/datadog.yaml.example, lists every available option for comparison or to copy and paste. Alternatively, see the sample config_template.yaml file for all available configuration options.
Integration files
Configuration files for integrations live in /etc/datadog-agent/conf.d/. Each integration has its own sub-directory, <INTEGRATION>.d/, that contains:
conf.yaml: The active configuration controlling how the integration gathers metrics and logsconf.yaml.example: A sample illustrating supported keys and defaults
Commands
| Description | Command |
|---|---|
| Start Agent as a service | sudo systemctl start datadog-agent |
| Stop Agent running as a service | sudo systemctl stop datadog-agent |
| Restart Agent running as a service | sudo systemctl restart datadog-agent |
| Status of Agent service | sudo systemctl status datadog-agent |
| Status page of running Agent | sudo datadog-agent status |
| Send flare | sudo datadog-agent flare |
| Display command usage | sudo datadog-agent --help |
| Run a check | sudo -u dd-agent -- datadog-agent check <CHECK_NAME> |
Note: For upstart-based systems, such as CentOS/RHEL 6 or SUSE 11, swap systemctl <action> with <action>. For example, when starting an Agent as a service on a SUSE 11 system, use sudo start datadog-agent.
Uninstall the Agent
To uninstall the Agent, run the command for the appropriate Linux environment:
For CentOS, Rocky, AlmaLinux, Amazon Linux, Oracle Linux, and Red Hat
sudo yum remove datadog-agent
For Debian, Ubuntu
sudo apt-get remove datadog-agent -y
For SUSE
sudo zypper remove datadog-agent
The above commands remove the Agent, but do not remove:
- The
datadog.yamlconfiguration file - User-created files in the
/etc/datadog-agentconfiguration folder - User-created files in the
/opt/datadog-agentfolder - The
dd-agentuser - Datadog log files
To remove these elements, run this command after removing the Agent:
sudo userdel dd-agent \
&& sudo rm -rf /opt/datadog-agent/ \
&& sudo rm -rf /etc/datadog-agent/ \
&& sudo rm -rf /var/log/datadog/
To uninstall remaining Agent artifacts for Debian and Ubuntu run:
sudo apt-get remove --purge datadog-agent -y
Uninstall Single Step APM Instrumentation
If you installed the Agent with Single Step APM Instrumentation and want to uninstall it, you need to run additional commands to remove APM Instrumentation. Follow the steps for your specific environment.
Troubleshooting
For detailed steps, see Agent Troubleshooting.
Working with the embedded Agent
The Agent contains an embedded Python environment at /opt/datadog-agent/embedded/. Common binaries such as python and pip are contained within /opt/datadog-agent/embedded/bin/.
See the instructions on how to add packages to the embedded Agent for more information.
Further Reading
Documentation, liens et articles supplémentaires utiles:

