- Essentials
- Getting Started
- Agent
- API
- APM Tracing
- Containers
- Dashboards
- Database Monitoring
- Datadog
- Datadog Site
- DevSecOps
- Incident Management
- Integrations
- Internal Developer Portal
- Logs
- Monitors
- Notebooks
- OpenTelemetry
- Profiler
- Search
- Session Replay
- Security
- Serverless for AWS Lambda
- Software Delivery
- Synthetic Monitoring and Testing
- Tags
- Workflow Automation
- Learning Center
- Support
- Glossary
- Standard Attributes
- Guides
- Agent
- Integrations
- Developers
- Authorization
- DogStatsD
- Custom Checks
- Integrations
- Build an Integration with Datadog
- Create an Agent-based Integration
- Create an API-based Integration
- Create a Log Pipeline
- Integration Assets Reference
- Build a Marketplace Offering
- Create an Integration Dashboard
- Create a Monitor Template
- Create a Cloud SIEM Detection Rule
- Install Agent Integration Developer Tool
- Service Checks
- IDE Plugins
- Community
- Guides
- OpenTelemetry
- Administrator's Guide
- API
- Partners
- Datadog Mobile App
- DDSQL Reference
- CoScreen
- CoTerm
- Remote Configuration
- Cloudcraft (Standalone)
- In The App
- Dashboards
- Notebooks
- DDSQL Editor
- Reference Tables
- Sheets
- Monitors and Alerting
- Service Level Objectives
- Metrics
- Watchdog
- Bits AI
- Internal Developer Portal
- Error Tracking
- Change Tracking
- Event Management
- Incident Response
- Actions & Remediations
- Infrastructure
- Cloudcraft
- Resource Catalog
- Universal Service Monitoring
- End User Device Monitoring
- Hosts
- Containers
- Processes
- Serverless
- Network Monitoring
- Storage Management
- Cloud Cost
- Application Performance
- APM
- Continuous Profiler
- Database Monitoring
- Agent Integration Overhead
- Setup Architectures
- Setting Up Postgres
- Setting Up MySQL
- Setting Up SQL Server
- Setting Up Oracle
- Setting Up Amazon DocumentDB
- Setting Up MongoDB
- Connecting DBM and Traces
- Data Collected
- Exploring Database Hosts
- Exploring Query Metrics
- Exploring Query Samples
- Exploring Database Schemas
- Exploring Recommendations
- Troubleshooting
- Guides
- Data Streams Monitoring
- Data Observability
- Digital Experience
- Real User Monitoring
- Synthetic Testing and Monitoring
- Continuous Testing
- Product Analytics
- Session Replay
- Software Delivery
- CI Visibility
- CD Visibility
- Deployment Gates
- Test Optimization
- Code Coverage
- PR Gates
- DORA Metrics
- Feature Flags
- Security
- Security Overview
- Cloud SIEM
- Code Security
- Cloud Security
- App and API Protection
- AI Guard
- Workload Protection
- Sensitive Data Scanner
- AI Observability
- Log Management
- Observability Pipelines
- Configuration
- Sources
- Processors
- Destinations
- Packs
- Akamai CDN
- Amazon CloudFront
- Amazon VPC Flow Logs
- AWS Application Load Balancer Logs
- AWS CloudTrail
- AWS Elastic Load Balancer Logs
- AWS Network Load Balancer Logs
- Cisco ASA
- Cloudflare
- F5
- Fastly
- Fortinet Firewall
- HAProxy Ingress
- Istio Proxy
- Juniper SRX Firewall Traffic Logs
- Netskope
- NGINX
- Okta
- Palo Alto Firewall
- Windows XML
- ZScaler ZIA DNS
- Zscaler ZIA Firewall
- Zscaler ZIA Tunnel
- Zscaler ZIA Web Logs
- Search Syntax
- Scaling and Performance
- Monitoring and Troubleshooting
- Guides and Resources
- Log Management
- CloudPrem
- Administration
Build Apps
This product is not supported for your selected Datadog site. ().
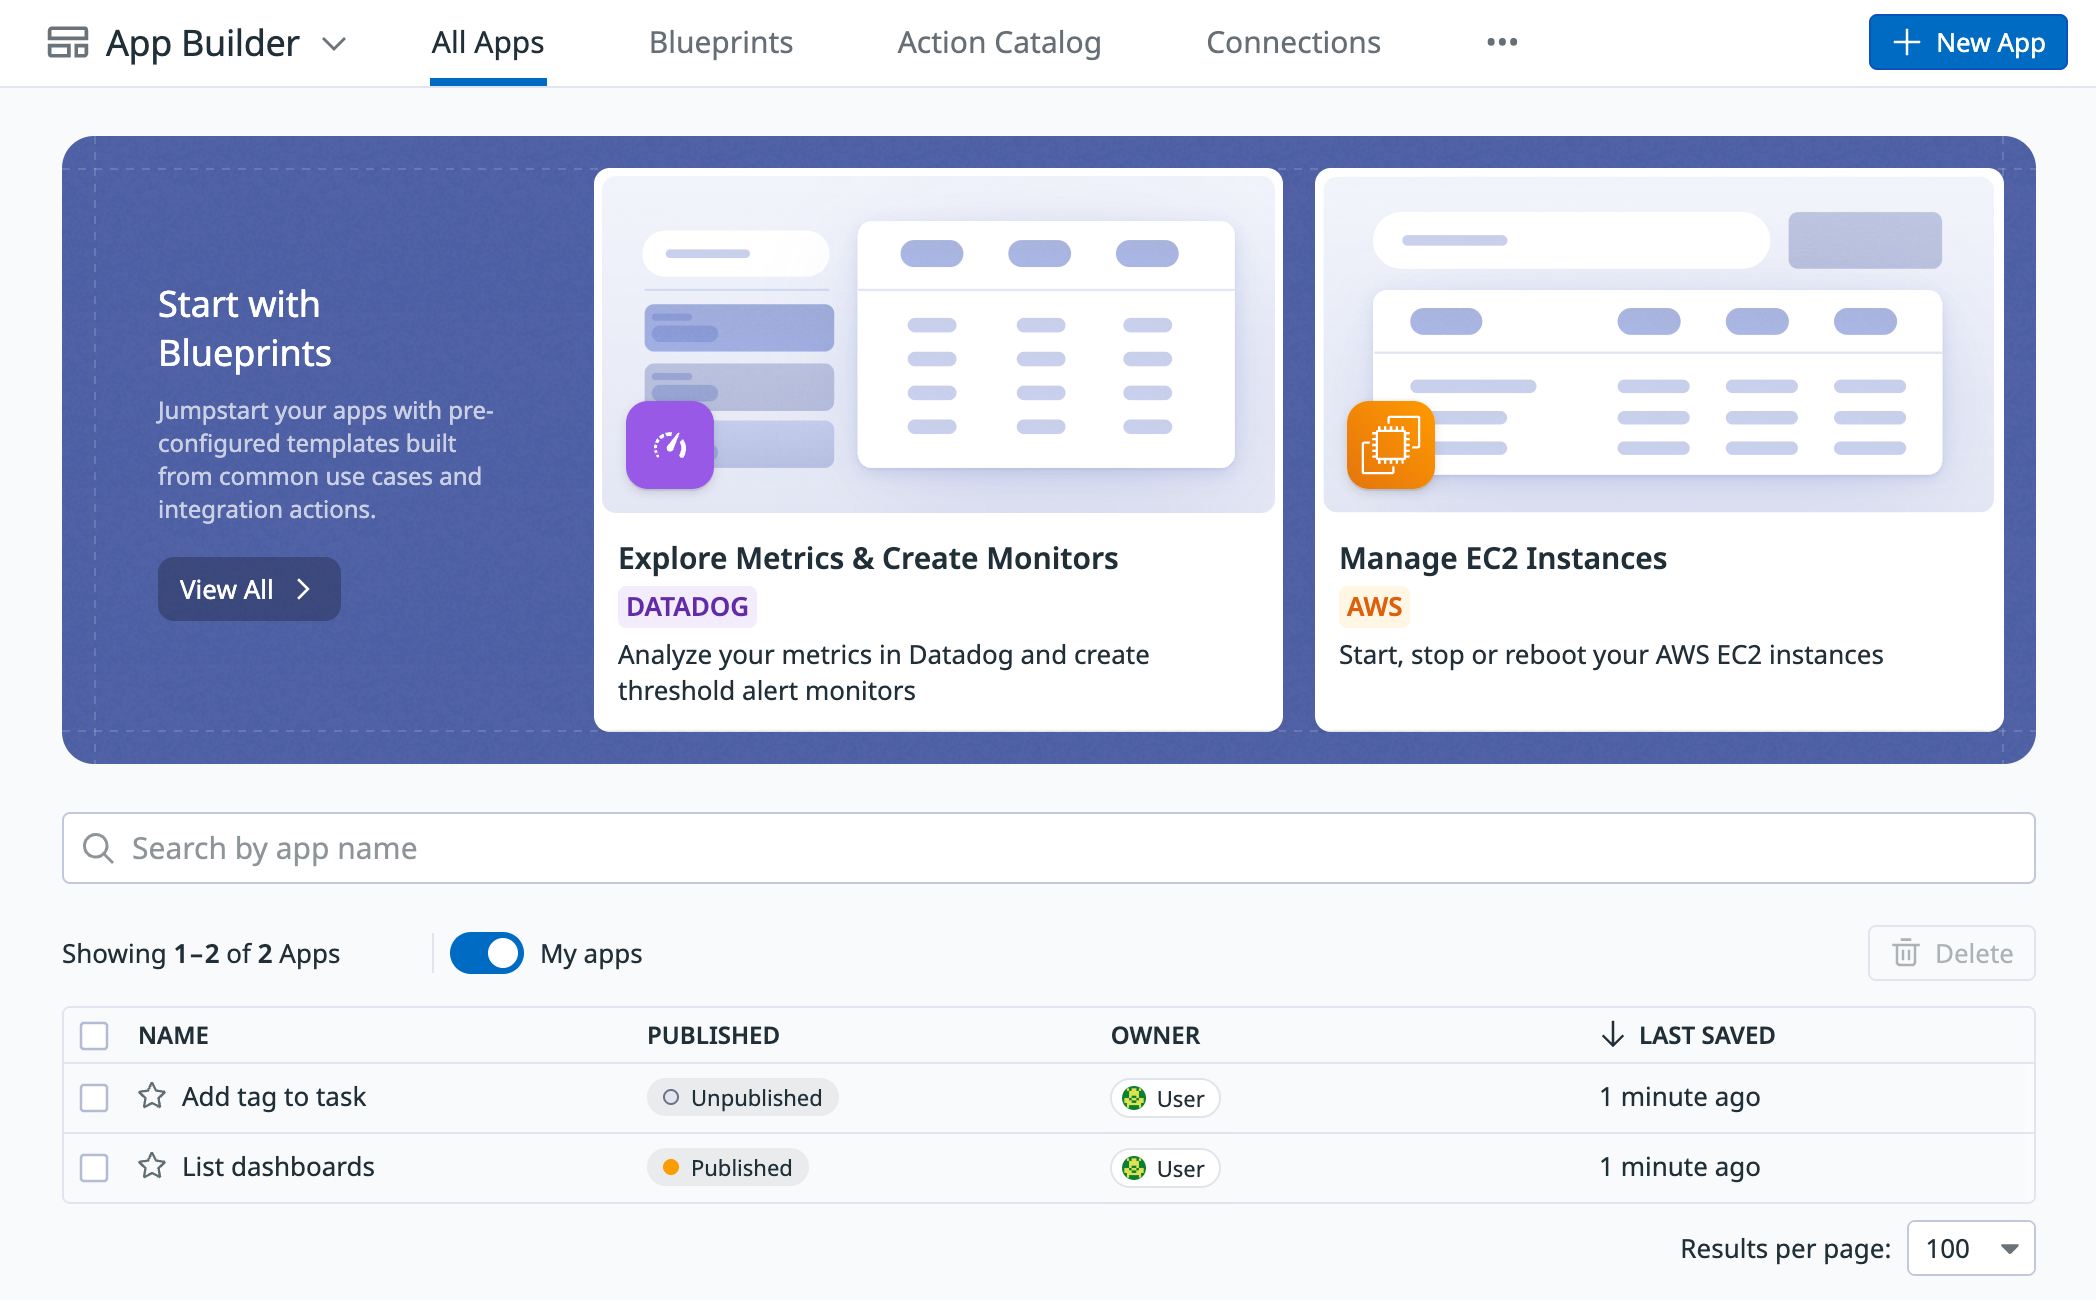
You can create an app or edit existing apps from the App Builder page. The page lists information about existing apps, including the following:
- Author
- Tags
- Date that each app was last modified
- Whether each app is published
On the App Builder page, you can access and filter your apps. Hover over an app for options to edit, delete, view, or clone the app. You can also enable the My apps toggle to see only apps that you created:
Create an app
When creating a new app, you can use AI, a blueprint, a layout, or an action to get started. Alternatively, you can start from scratch or use the App Playground to learn more about App Builder.
Build an app with AI
With Bits AI, you can generate a complete app from a single prompt. Describe the app you want to create, and the UI agent automatically generates the UI, actions, and logic mapped to your existing data and permissions. You can then iterate by chatting—refining components, flows, or styling—without writing any code.
To build an app with Bits AI:
- From App Builder, click New App.
- Click a suggested prompt, or enter a prompt that describes the app you want to create. Enter as much detail as possible to improve the results. Here are some example prompts:
Display a list of AWS Lambda functions in a table. Allow the user to filter by function name and specify the limit.Display GitHub pull requests in a table.
- Press Enter to send your prompt. Bits AI automatically generates the UI, actions, and logic for your app, mapped to your existing data and permissions.
- While Bits AI is generating your app, it may give you the chance to set up a connection to build the app with real data. You can complete this step, or skip it to build the app layout faster without data.
- Bits AI sometimes asks clarification questions while it responds to your prompt. If this happens, enter a response, then press Enter.
- After Bits AI adds an action to the app, it gives you the chance to either use mock data in your action, or skip that step. With mock data, Bits AI can infer the action’s output and automatically connect that data to components (such as set a table’s data source). If you skip this step, you can wire outputs manually later.
- After Bits AI has generated your app, you can click Edit with AI or manually customize your app.
To iterate on an existing app:
- From your apps list, hover over an app and click the edit
icon.
- Click the AI icon.
- Enter a detailed prompt for the behavior you’d like to add to your app. Include the integrations and actions you’d like to use.
- Press Enter to add the functionality to your app.
Build an app from a blueprint
Blueprints are helpful app templates that cover common use cases and showcase best practices for setting up apps. They come loaded with demo data you can use to familiarize yourself with the app’s functions. Some blueprints create a starter app that you can customize, like Manage Datastore and Export Synthetics. Blueprints with “how to” in their title, like How to: Custom Code, are templates with built-in tutorials for App Builder features.
- From App Builder, click the Blueprints tab.
- Click the blueprint you want to use.
- Click Open in Editor.
- Customize your app.
You can also access blueprints from the integrations page. Click an integration, then click Monitoring Resources to see the available blueprints.
Build an app from a layout
Choosing a layout is the fastest way to create a minimal, ready-to-edit app.
To create an app from a layout:
- From App Builder, click New App.
- Click Layouts in the onboarding modal.
- Select a layout. There are three options:
- Table Manager: List, filter, and sort data from a query.
- Form: Collect inputs and trigger actions (create, update, request, etc.). For more detailed form templates, see Forms.
- Custom Chart: Visualize a query by swapping your data into a prebuilt bar chart.
- Click Use Layout.
- Customize your app.
Build an app from an action
You can create an app by choosing an integration and a specific action from the Action Catalog. App Builder preconfigures the action and its queries, bringing live data into the app canvas. You can then connect components and test the app immediately. This method is best if you already have an integration and an action in mind (such as interacting with a Datadog datastore).
- From App Builder, click New App.
- Click Action in the onboarding modal.
- Choose an integration, then click Continue.
- Choose one or more actions. Each set of actions is a template specific to the integration you’ve selected. There is no limit to the number of actions you can choose.
- Click Create.
- Customize your app.
Create a custom app
If you don’t want to use any of the methods above, you can create a new app from the blank App Builder canvas.
- From App Builder, click New App.
- Click Start From Scratch, or click the X to close the onboarding modal.
- Customize your app.
See what’s possible with App Playground
The App Playground is an interactive demo that guides users through creating and using an app. If you’re new to App Builder, you can use the App Playground to learn about its core concepts, including:
- Data fetching
- Displaying query data in a table
- Configuring a button to fire a query
- Configuring the loading states for a component to reflect a query’s loading state
- Visualizing data in a graph
To access the App Playground:
- From App Builder, click New App.
- Click App Playground.
- On the next screen, the app canvas (the right pane) displays information to guide you through App Builder. Click elements like Fetching Data to see information and instructions for using that feature.
Customize your app
Apps are made up of UI components and queries which interact with each other to form the user experience and logic behind each app. The query list and editor appear on the left side of the page, while the app canvas and UI components make up the right side of the page.
To change basic elements of your app:
- From App Builder, hover over an app and click the edit
icon.
- Make edits to your app as required.
- Click the app name to edit these elements:
- Name
- Description
- Tags
- Appearance
- Edit the input parameters.
- To add a UI component to the app canvas, click the Add Component icon to open the Components tab. Click the component or drag it onto the canvas.
- Click the app name to edit these elements:
- Click the View button to see your app from the user’s perspective. Use view mode to interact with the app UI and test your queries. When you’re done, click Edit to return to the app builder.
- To save your app, click Save.
- When you’re ready to publish your app, click Publish. Publishing an app makes it available to your dashboards.
App canvas and components
The app canvas represents the graphical interface that your users interact with. You can drag and drop components to move them around on the canvas. To see all available components, click the plus icon to open the Components tab.
Each component features a list of corresponding configuration options that control how users interact with your app. For example, the Text Input component allows you to set a default value, placeholder text, and a label. The Button component includes a label and an event that triggers when the button is pressed. Components also feature an Appearance section that changes the way the components look and act. For example, you can disable a button or control its visibility.
To delete or duplicate a component, select the component and click the three dot ellipsis (…) to display the Delete or Duplicate options.
For a list of available UI components and their properties, see Components.
UI components can trigger reactions on an Event.
Queries populate your app with data from Datadog APIs or supported integrations. They take inputs from other queries or from UI components and return outputs for use in other queries or in UI components.
You can use JavaScript Expressions anywhere in App Builder to create custom interactions between the different parts of your app.
Tag an app
Tags display in a column on the app list.
To add a tag to an app:
- Open the App Properties tab in your app.
- Under Tags, use the drop-down to select an existing tag, or enter a new value and click Add option: [your text].
- Save your app.
The tag displays on the line for this app in the app list. You can click the tag in this list to copy it to your clipboard.
Favorite an app
Favoriting an app pins it to the top of your app list.
To favorite an app, click the star icon next to the app’s name. When you refresh the page, the starred app appears at the top of your app list.
View app version history
App Builder keeps a record of every saved version of your app.
To view the version history for your app, in the left-hand menu of your app, click the version history icon.
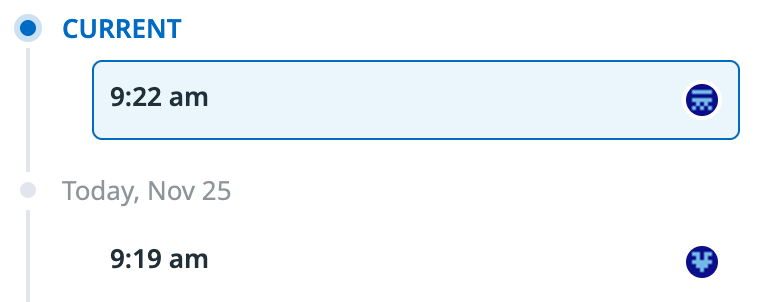
The UI displays previously saved or published versions of your app, along with the icon of the user who saved or published the version:
You can perform the following operations:
- To view an app version, click the version in the list.
- To overwrite an existing app with a previous version, select the version, then click Restore Version in the upper right.
- To create a new app that is a copy of a version, select the version, then click Clone Version in the upper right.
Interact with an app in JSON
Edit an app
To edit an app with JSON, click the settings icon and select Switch to JSON. The Switch to GUI option in the settings menu takes you back to the GUI editor.
Copy an app
To copy an app layout across organizations or back an app up, click the settings icon and select Switch to JSON. This shows the JSON code for the entire app. Copy this JSON code and save it in a text editor. You can save intermediate states of your app during development and return to them if necessary.
To copy the app to another organization:
- Create an app.
- Click Settings
and select Switch to JSON.
- Replace the existing JSON with the JSON that you previously copied.
The Switch to GUI option in the settings menu takes you back to the GUI editor.
Debug an app
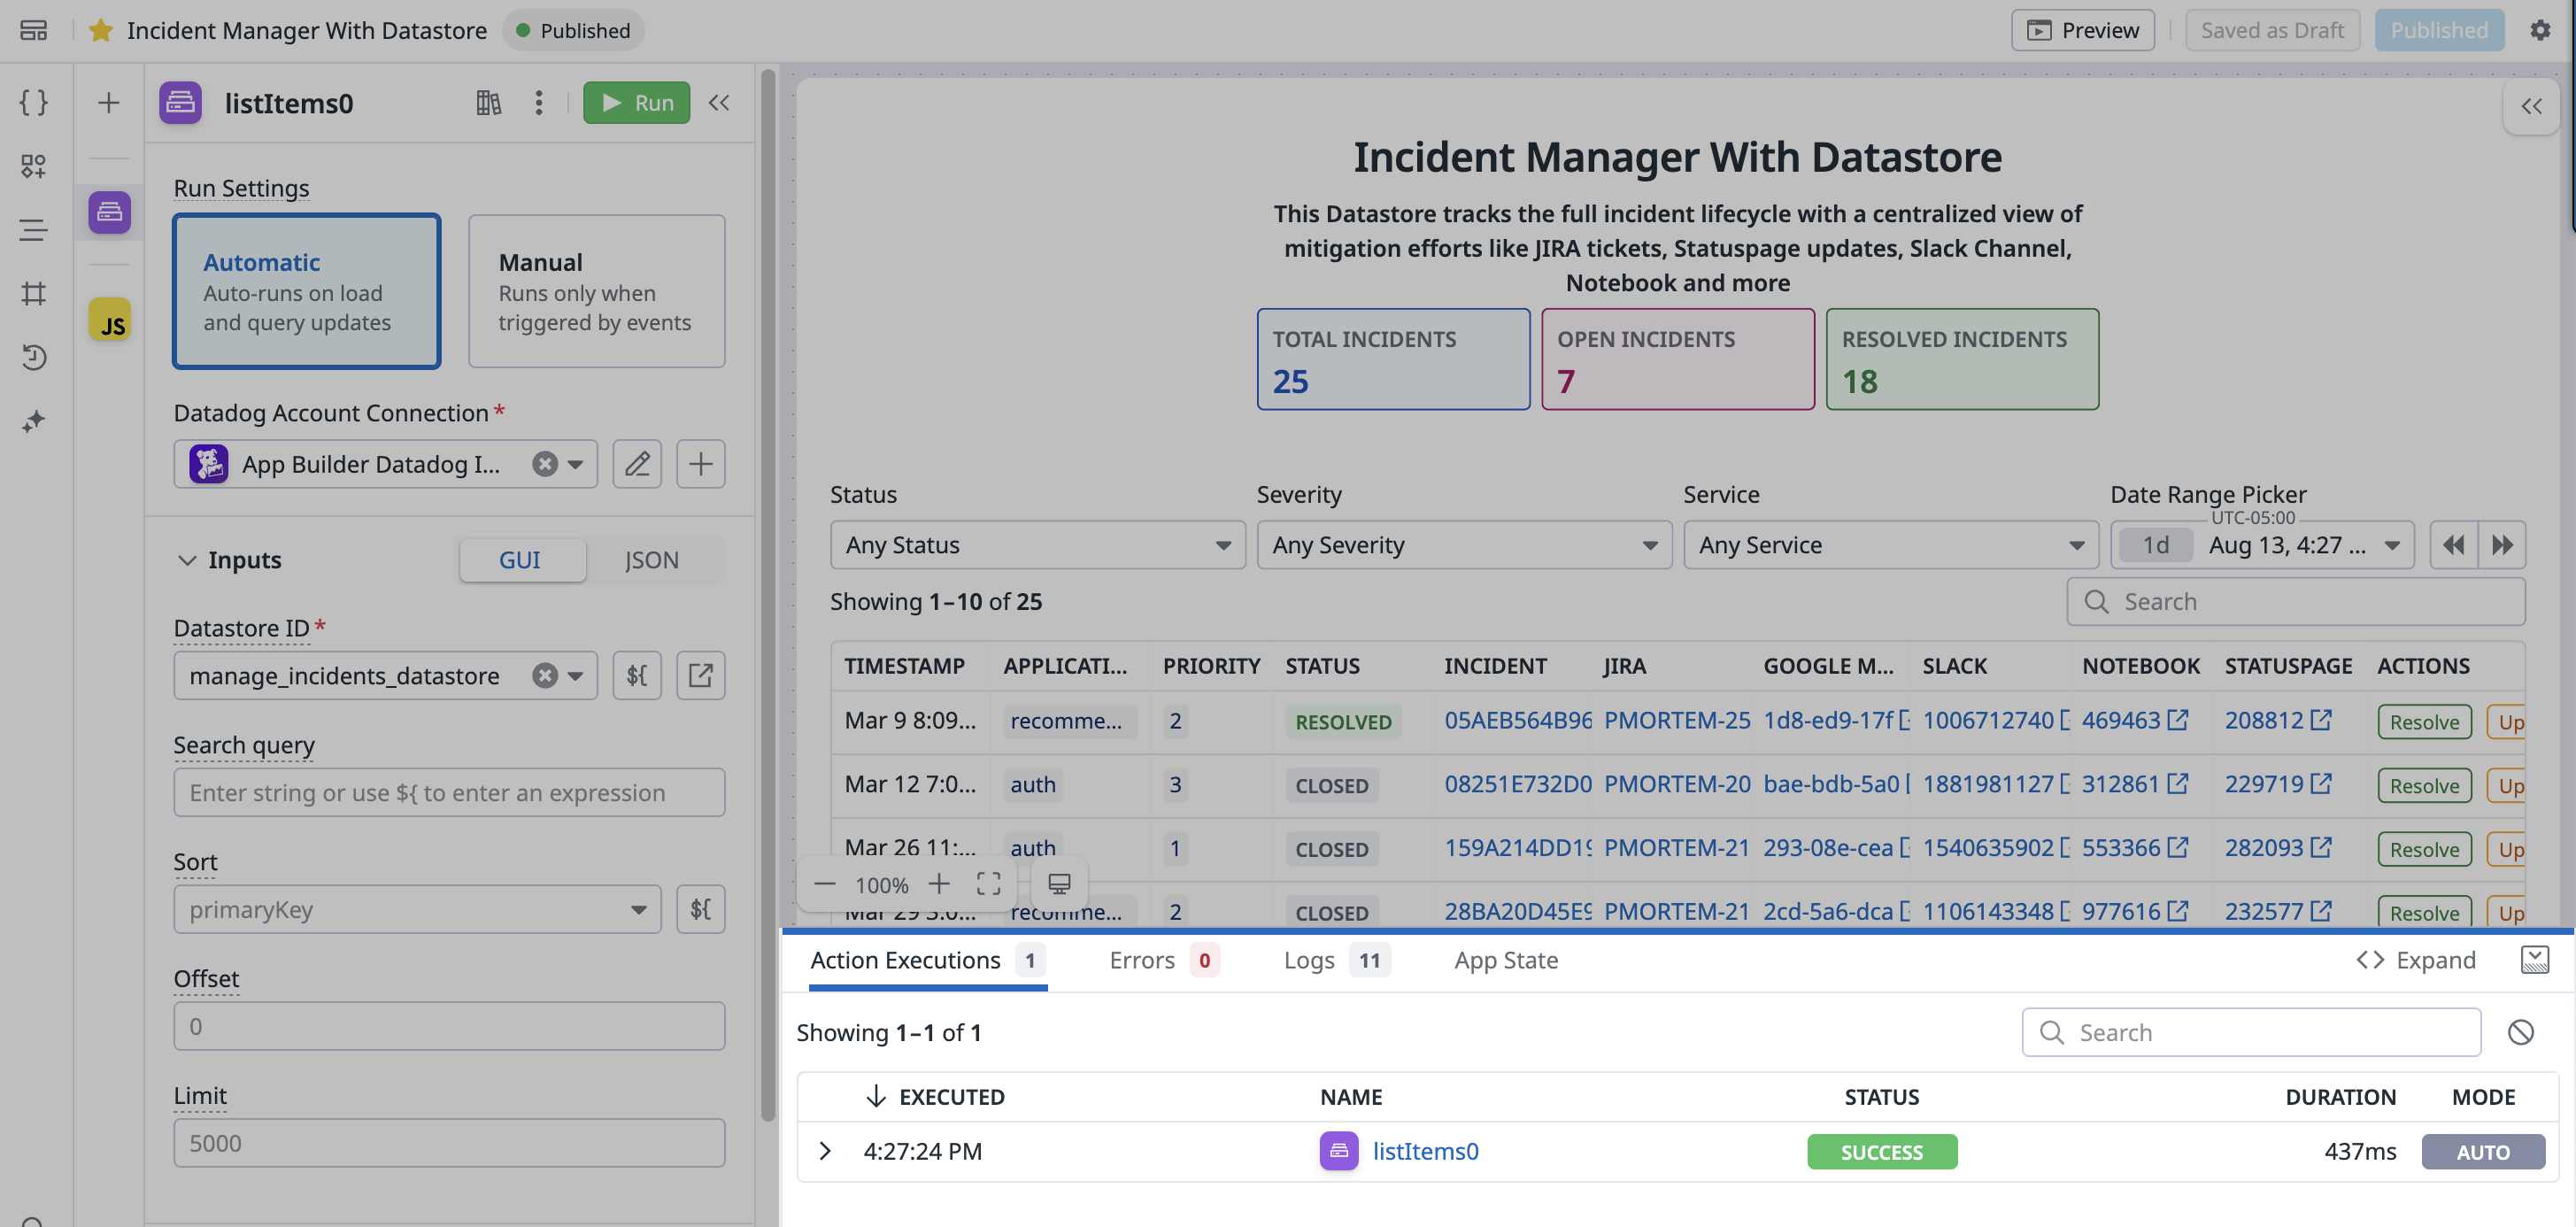
The App Builder Debug Console provides a central place to view real-time logs, action executions, and errors.
To access the Debug Console, hover over an app in your apps list and click the edit icon. Click the expand
icon in the bottom right to see the entire Debug Console. Information inside the console includes:
- Action Executions: Track the success and failure of action executions with their associated inputs and outputs.
- Errors: View logs for errors, warnings, and info messages.
- Logs: View configuration errors for your actions, transformers, variables, and components.
- App State: Access real-time application state changes.
Further reading
Additional helpful documentation, links, and articles:
Do you have questions or feedback? Join the #app-builder channel on the Datadog Community Slack.


