- Essentials
- Getting Started
- Agent
- API
- APM Tracing
- Containers
- Dashboards
- Database Monitoring
- Datadog
- Datadog Site
- DevSecOps
- Incident Management
- Integrations
- Internal Developer Portal
- Logs
- Monitors
- Notebooks
- OpenTelemetry
- Profiler
- Search
- Session Replay
- Security
- Serverless for AWS Lambda
- Software Delivery
- Synthetic Monitoring and Testing
- Tags
- Workflow Automation
- Learning Center
- Support
- Glossary
- Standard Attributes
- Guides
- Agent
- Integrations
- Developers
- Authorization
- DogStatsD
- Custom Checks
- Integrations
- Build an Integration with Datadog
- Create an Agent-based Integration
- Create an API-based Integration
- Create a Log Pipeline
- Integration Assets Reference
- Build a Marketplace Offering
- Create an Integration Dashboard
- Create a Monitor Template
- Create a Cloud SIEM Detection Rule
- Install Agent Integration Developer Tool
- Service Checks
- IDE Plugins
- Community
- Guides
- OpenTelemetry
- Administrator's Guide
- API
- Partners
- Datadog Mobile App
- DDSQL Reference
- CoScreen
- CoTerm
- Remote Configuration
- Cloudcraft (Standalone)
- In The App
- Dashboards
- Notebooks
- DDSQL Editor
- Reference Tables
- Sheets
- Monitors and Alerting
- Service Level Objectives
- Metrics
- Watchdog
- Bits AI
- Internal Developer Portal
- Error Tracking
- Change Tracking
- Event Management
- Incident Response
- Actions & Remediations
- Infrastructure
- Cloudcraft
- Resource Catalog
- Universal Service Monitoring
- End User Device Monitoring
- Hosts
- Containers
- Processes
- Serverless
- Network Monitoring
- Storage Management
- Cloud Cost
- Application Performance
- APM
- Continuous Profiler
- Database Monitoring
- Agent Integration Overhead
- Setup Architectures
- Setting Up Postgres
- Setting Up MySQL
- Setting Up SQL Server
- Setting Up Oracle
- Setting Up Amazon DocumentDB
- Setting Up MongoDB
- Connecting DBM and Traces
- Data Collected
- Exploring Database Hosts
- Exploring Query Metrics
- Exploring Query Samples
- Exploring Database Schemas
- Exploring Recommendations
- Troubleshooting
- Guides
- Data Streams Monitoring
- Data Observability
- Digital Experience
- Real User Monitoring
- Synthetic Testing and Monitoring
- Continuous Testing
- Product Analytics
- Session Replay
- Software Delivery
- CI Visibility
- CD Visibility
- Deployment Gates
- Test Optimization
- Code Coverage
- PR Gates
- DORA Metrics
- Feature Flags
- Security
- Security Overview
- Cloud SIEM
- Code Security
- Cloud Security
- App and API Protection
- AI Guard
- Workload Protection
- Sensitive Data Scanner
- AI Observability
- Log Management
- Observability Pipelines
- Configuration
- Sources
- Processors
- Destinations
- Packs
- Akamai CDN
- Amazon CloudFront
- Amazon VPC Flow Logs
- AWS Application Load Balancer Logs
- AWS CloudTrail
- AWS Elastic Load Balancer Logs
- AWS Network Load Balancer Logs
- Cisco ASA
- Cloudflare
- F5
- Fastly
- Fortinet Firewall
- HAProxy Ingress
- Istio Proxy
- Juniper SRX Firewall Traffic Logs
- Netskope
- NGINX
- Okta
- Palo Alto Firewall
- Windows XML
- ZScaler ZIA DNS
- Zscaler ZIA Firewall
- Zscaler ZIA Tunnel
- Zscaler ZIA Web Logs
- Search Syntax
- Scaling and Performance
- Monitoring and Troubleshooting
- Guides and Resources
- Log Management
- CloudPrem
- Administration
How to Set Up RBAC for Logs
Overview
In many organizations, logs may contain sensitive information that requires scrubbing or restricted access to ensure compliance and privacy. Role-Based Access Control (RBAC) enables you to manage user access permissions efficiently, allowing only authorized personnel access to specific logs and features. This guide details how to set up RBAC for logs in Datadog, focusing on creating custom roles and assigning appropriate permissions.
This guide covers the following topics:
- Prerequisites for Admins: Details the necessary prerequisites.
- Setting Up Roles for the ACME Team: Instructions on creating roles and assigning team members.
- Limiting Access to Logs: How to employ restriction queries to control log access.
- Configuring Permissions on Log Assets: Guidelines for setting permissions on pipelines, indexes, and archives.
Managing multiple teams
Consider an organization with multiple teams, such as the ACME team, which handles ACME logs for troubleshooting and auditing. Within the ACME team, there are two primary user categories:
- ACME Admin: These users manage ACME log collection, pipelines, and exclusion filters.
- ACME User: These users access ACME logs and create monitors or dashboards based on these logs.
You can customize this setup to fit your organizational needs, either by consolidating permissions into a single role or creating multiple roles for more detailed access control. The principles outlined here can be adapted to other teams within your organization.
In Datadog, permissions are additive; users belonging to multiple teams benefit from combined permissions across all assigned roles.
The role of Datadog Admin
As a Datadog Admin, you can configure a secure environment for ACME team members to manage their logs without affecting logs from other teams. This guide explains the steps for setting up roles and permissions to restrict log access to ACME Users specifically. You can also adapt the setup to make ACME Admins serve as Datadog Admins if needed.
Prerequisites
Tagging incoming logs
First, tag incoming ACME logs with a team:acme tag, which helps in categorizing logs as they pass through Datadog. For instance, when collecting Docker logs, apply the team:acme tag using Docker labels as tags.
For a comprehensive overview of tagging, see Getting Started with Tags.
Logging in as a Datadog Admin
To perform the actions in this guide, you must have Datadog Admin permissions. Ensure your user account can create roles, assign users, and manage Log Pipelines, Log Indexes, and Log Archives. For more information on permissions, see Datadog Role Permissions
Navigate to the Users list to verify that you have all these permissions. If these permissions are missing, request them from a current Datadog Admin.
Get an API key and an app key
If you plan to use the Datadog API, you need an API key and an app key from an Admin user. API keys and app keys can be generated in your organization settings. Ensure the app key is associated with a user who has the necessary permissions. For more information, see API and app keys.
In this guide, replace <DATADOG_API_KEY> and <DATADOG_APP_KEY> with your Datadog API key and application key, respectively. A terminal with CURL is also required.
Obtaining permission IDs
Note: This section is only required if you intend on using the Datadog API to set up RBAC.
If you plan to use the Datadog API, use the Permissions API to get all existing permissions. You need the permission ID for actions such as granting roles specific permissions. Note: The permission IDs change depending on your selected Datadog site ().
curl -X GET "https://app.datadoghq.com/api/v2/permissions" -H "Content-Type: application/json" -H "DD-API-KEY: <DATADOG_API_KEY>" -H "DD-APPLICATION-KEY: <DATADOG_APP_KEY>"
Setting up roles
This section guides you through creating two roles, ACME Admin and ACME User, granting them basic log permissions, and assigning users to these roles.
Creating a role
- Navigate to the Roles section in the Datadog Organization Settings.
- Click New Role to create
ACME AdminandACME Userroles. - Assign Standard Access and basic permissions, such as Logs Read Index Data and Logs Live Tail.
For more information on creating roles, see Access Control.
- Create
ACME AdminandACME Userroles using the Role Creation API. In the following example,dcf7c550-99cb-11ea-93e6-376cebac897cis the role ID.curl -X POST "https://app.datadoghq.com/api/v2/roles" -H "Content-Type: application/json" -H "DD-API-KEY: <DATADOG_API_KEY>" -H "DD-APPLICATION-KEY: <DATADOG_APP_KEY>" -d '{"data": {"type": "roles","attributes": {"name": "ACME Admin"}}}'[...] "type": "roles", "id": "dcf7c550-99cb-11ea-93e6-376cebac897c", "attributes": { "name": "ACME Admin", [...] } [...] - Assign the necessary permissions using the Grant Permissions API.
Assigning users to roles
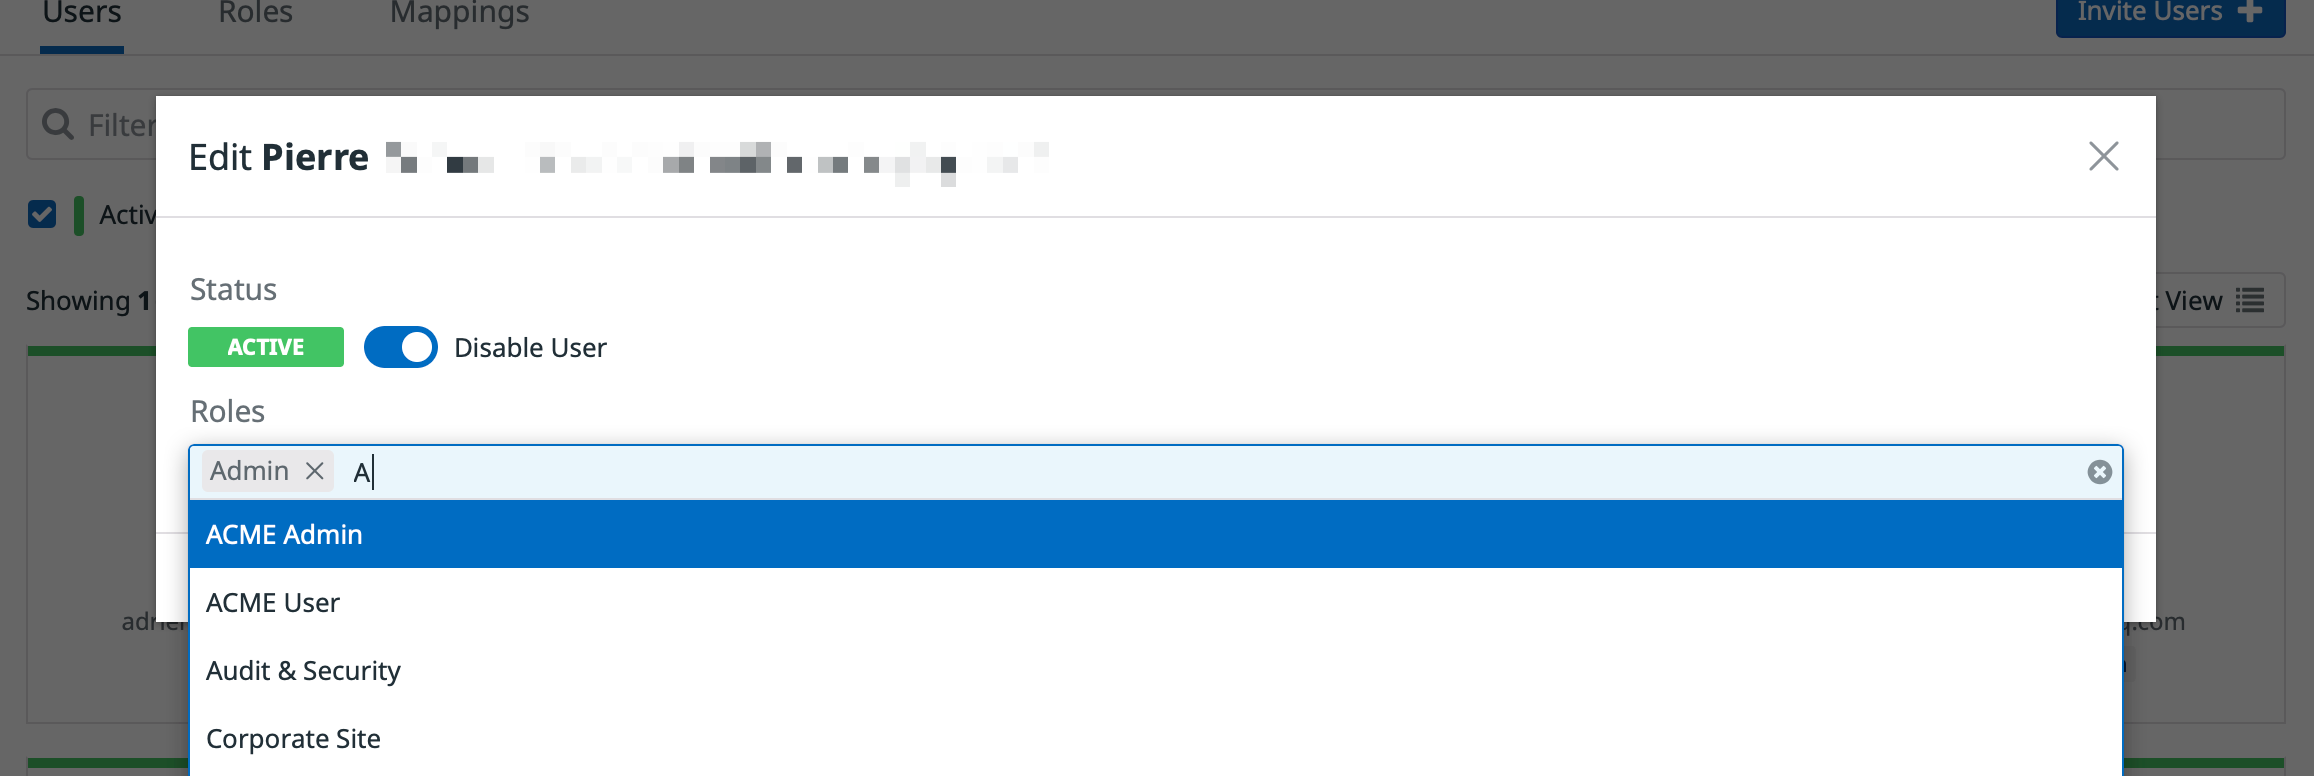
- In the Users Section of Datadog, select a user and assign them either the
ACME AdminorACME Userrole.
- Retrieve user IDs using the List Users API.
- Assign users to roles with the Assign Role API.
Restrict access to logs
Grant ACME Team members access to team:acme logs exclusively by using the logs_read_data permission with Restriction Queries.
For best practices, avoid extending ACME Users’ permissions to access additional logs. Also, avoid applying the same team:acme restriction query to other roles. Instead, assign users to multiple roles based on their individual access needs.
This section details how to:
- Create a
team:acmerestriction query. - Attach that restriction query to ACME roles.
Note: Each role can have only one restriction query attached. Attaching a new restriction query to a role replaces any existing query for that role.
Defining a restriction query
- Navigate to the Data Access page.
- Create a
team:acmerestriction query and apply it to the ACME roles.
- Create a restriction query using the Create Restriction Query API.
- Keep track of the restriction Query ID.
- Attach the restriction query to ACME roles with the Restriction Query API.
- Enable the
logs_read_datapermissions on the role using the Grant Permissions API. See the obtaining Permission IDs section to get the corresponding ID for this permission. - (Optional) Validate the setup:
- Get the list of roles attached to the query with the Get Roles API. You should see only
ACME AdminandACME Userin the results. - Conversely, getting the restriction query attached to either role with the Get Restriction Query API. You should see the
team:acmerestriction query.
- Get the list of roles attached to the query with the Get Roles API. You should see only
Restrict access to log assets
Grant the ACME Admin role permissions to manage Log Pipelines, Log Indexes, and Log Archives without impacting other teams.
This ensures that:
ACME Adminmembers (and onlyACME Adminmembers) can interact with ACME Log Assets.- Neither
ACME AdminnorACME Usermembers can interfere with assets from other teams. - Neither
ACME AdminnorACME Usermembers can interfere with higher level “Admin” configurations, such as which logs flow into their assets, budget limitations, or Log Access Restriction rules.
Log pipelines
Create a pipeline for team:acme logs. Grant the logs_write_processors permission to the ACME Admin role.
Log indexes
Create indexes for team:acme logs for detailed budget control. Grant the logs_write_exclusion_filters permission to the ACME Admin role.
Log archives
Create one or multiple archives for team:acme logs. Assign the logs_read_archives permission to ACME Admin members. For rehydration, assign the logs_write_historical_view permission to ACME Admin.
Create one or multiple archives for team:acme logs. Assign the Read Archives permission to members of ACME Admin.
Further reading
Additional helpful documentation, links, and articles:


